
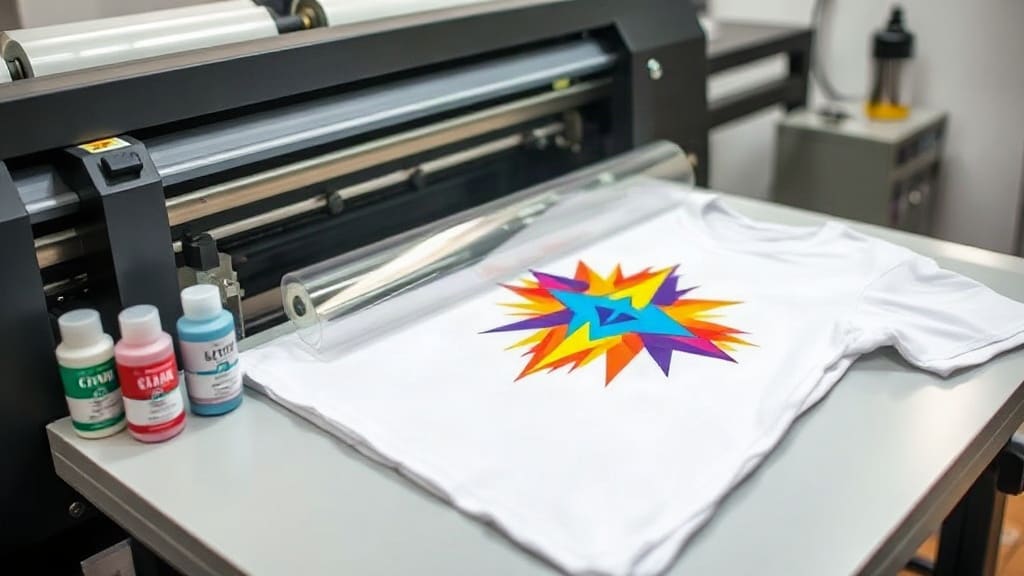
If you've been exploring custom apparel printing, you've likely heard about DTF transfers. This technology has taken the industry by storm, offering a versatile and affordable way to create vibrant, durable designs on various fabrics. In this guide, I'll walk you through what DTF transfers are, why they're a game-changer, and how to achieve professional results every time. Whether you're a hobbyist or a business owner, this comprehensive resource will help you master the art of DTF printing.
What Are DTF Transfers?
DTF (Direct to Film) transfers involve printing a design onto a special PET film using a DTF printer, then applying adhesive powder to the printed areas. Once the powder is cured, the design can be transferred onto fabric using a heat press. Unlike traditional heat transfer vinyl, DTF allows for vibrant, full-color prints with no weeding required. It's an excellent option for complex designs, photographic images, and small batch production.
Why Choose DTF Transfers?
There are several reasons why DTF has become a favorite among custom printers:
- Versatility: DTF works on a wide range of fabrics, including cotton, polyester, blends, and even leather or denim.
- Soft hand feel: The prints are flexible and don't crack easily, maintaining a soft texture.
- No weeding: Unlike vinyl, you don't need to manually remove excess material, saving time and effort.
- High detail: DTF printers can reproduce intricate details and vibrant colors, making it ideal for logos and art with gradients.
- Cost-effective for small runs: No screen setup costs, so you can print one-off items or small batches profitably.
Essential Equipment for DTF Printing
To get started with DTF transfers, you'll need specific equipment. Here's a checklist:
DTF Printer
You can either convert an existing inkjet printer (like an Epson EcoTank) into a DTF printer or purchase a dedicated DTF machine. Look for printers that support white ink, as it's crucial for printing on dark garments.
DTF Ink and Film
High-quality DTF inks (CMYK plus white) and PET films are essential. Choose film with a coating that ensures optimal ink absorption and release.
Adhesive Powder
A hot-melt adhesive powder is applied to the printed film. It comes in different particle sizes; for fine details, use a finer powder. Shake it off after application, leaving powder only on the ink.
Heat Press
You'll need a heat press, preferably a clamshell or swing-away model, to transfer the design onto the fabric. Temperature and pressure control are vital.
Curing Oven or Heat Gun
To cure the adhesive powder after application, you can use a curing oven or a heat gun. Some printers have a built-in dryer, but a separate unit is common.
The DTF Transfer Process: Step-by-Step
Now, let's dive into the process. I'll break it down into simple steps:
Step 1: Design Your Artwork
Create or choose a high-resolution design (300 DPI recommended). Ensure it has no fine details that might be lost in the transfer. If you're using a design with transparent background, save it as a PNG.
Step 2: Print the Film
Load the PET film into the printer with the printable side facing up (usually the matte side). Print your design using the DTF ink settings. The printer will lay down CMYK and white ink layers.
Step 3: Apply Adhesive Powder
While the ink is still wet, cover the printed area with adhesive powder. It's best to use a shaker or a tray. Ensure the powder fully covers the ink, then gently shake off the excess. The powder sticks only to the wet ink.
Step 4: Cure the Powder
Heat the film with a heat gun or pass it through a curing oven at around 160-170°C (320-338°F) for 1-2 minutes. This melts the powder and binds it to the ink. The film should look slightly glossy when done.
Step 5: Press the Transfer
Preheat your heat press to about 180°C (356°F). Place your garment on the press, then position the film (powder side down) onto the fabric. Press with medium pressure for 10-15 seconds. Some designs may require a second press after removing the film, but typically one press is enough.
Step 6: Peel the Film
Allow the garment to cool slightly, then peel the film off. You can do a hot peel or cold peel depending on the film type. Most DTF films are cold peel, meaning you let it cool completely before peeling. This ensures the design stays intact.
Tips for Perfect DTF Transfers Every Time
From my experience, these tips can make a significant difference:
- Calibrate your printer: Run regular nozzle checks to ensure all colors and white ink are flowing correctly.
- Use the right film: Not all PET films are the same. Invest in quality film designed for DTF to avoid issues like ink spreading or poor release.
- Maintain proper temperature: Too hot, and the film might melt; too cold, and the powder won't cure. Use a temperature gun to verify.
- Pressure matters: Consistent pressure ensures even transfer. Adjust your press to medium-firm, but test on scrap fabric first.
- Test before mass production: Always do a test print to check colors and adhesion, especially when using a new batch of film or powder.
Common Mistakes to Avoid
Even experienced printers can run into problems. Here are common pitfalls and how to avoid them:
Using Low-Quality Inks
Cheap inks may not have the right color gamut or durability. Invest in reputable DTF inks to ensure vibrant, long-lasting prints.
Incorrect Peeling
If you peel too early, the adhesive might not have bonded properly, causing the design to lift. Follow the recommended peel method.
Not Pre-Treating Fabric
Some fabrics, especially those with coatings or synthetic blends, may require pre-treatment to enhance adhesion. Test on a swatch first.
Skipping the Curing Step
If you don't cure the powder adequately, the design will crack or wash off. Ensure even heating.
DTF vs. Other Printing Methods
DTF is often compared to other techniques like screen printing, DTG (direct to garment), and HTV. Here's a quick comparison:
DTF vs. Screen Printing
Screen printing is cost-effective for large quantities but requires setup and is limited to one color per screen. DTF offers full-color without setup, making it better for small batches and complex designs.
DTF vs. DTG
DTG prints directly on the garment, which is great for one-off items but slower and limited to 100% cotton. DTF works on more materials and can pre-print designs, allowing you to save time and offer faster turnaround.
DTF vs. HTV
HTV is limited to solid colors and requires weeding. DTF is truly full-color and no weeding, making it superior for detailed graphics.
Caring for DTF Prints
To ensure your DTF transfers last, advise your customers to follow these care instructions:
- Wash garments inside out in cold water.
- Avoid using bleach or harsh detergents.
- Tumble dry on low or hang dry.
- Do not iron directly on the design; use a protective sheet if needed.
Frequently Asked Questions About DTF Transfers
Can DTF transfers be used on dark fabrics?
Yes, DTF transfers are perfect for dark fabrics because the white ink layer acts as a base, making colors pop. It's one of the major advantages over DTG.
How long do DTF transfers last?
With proper application and care, DTF prints can last for many washes, often outlasting the garment itself. The key is to use quality materials and correct pressing techniques.
Do I need special software for DTF printing?
Most DTF printers use a RIP (Raster Image Processor) software to manage colors and ink. Some printers come with their own, or you can use popular options like AcroRIP or Flexi.
Can I make DTF transfers at home?
Absolutely! With the right equipment, you can produce DTF transfers at home. It's a bit of an investment, but for small businesses or hobbyists, it's a worthwhile tool.
What is the shelf life of DTF transfers?
If stored in a cool, dry place away from direct sunlight, DTF transfers can last for months. However, it's best to use them within a few weeks to ensure optimal adhesion.
In summary, DTF transfers offer a flexible, cost-effective solution for custom printing. Whether you're creating personalized gifts or starting a clothing line, mastering this technique can open up endless possibilities. Remember to practice, test, and refine your process. With time, you'll produce professional-quality prints that satisfy your customers. Happy printing!