
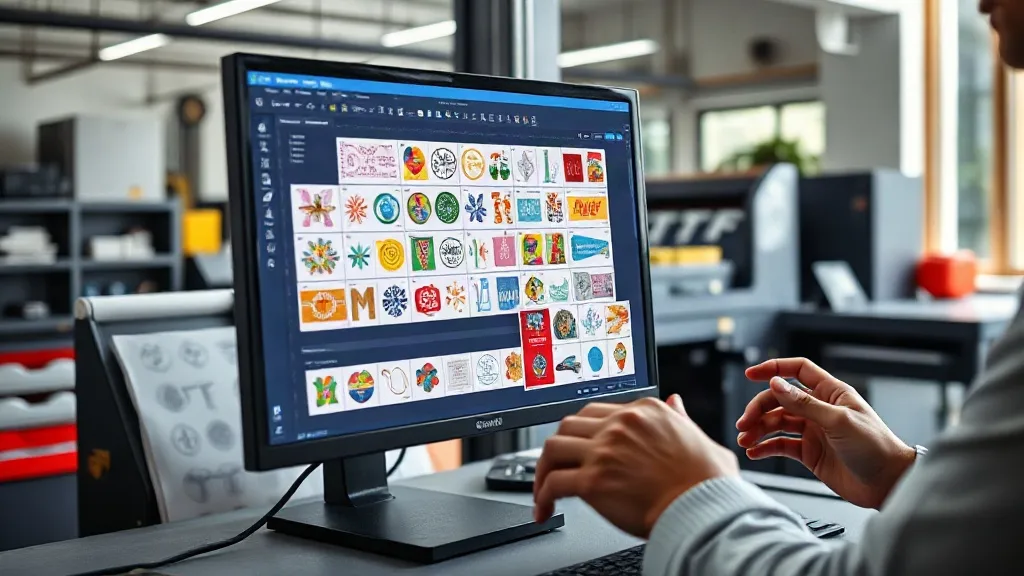
You've probably heard that a DTF Gangsheet can transform your custom apparel workflow, letting you print multiple designs in one go, saving time and film. But here's the catch: if your file isn't prepared correctly, you're setting yourself up for misprints, wasted material, and frustration. In this guide, we'll walk through the file preparation steps that separate professional-looking transfers from amateur disasters. Whether you're a seasoned pro or just starting out, these tips will help you get the most out of every gangsheet.
Why File Preparation Matters for DTF Gangsheets
DTF printing is a digital process, but it's not forgiving of poor file quality. Unlike some other printing methods, DTF transfers are created by printing your design onto a special film, then applying adhesive powder and curing it. Any flaw in your file, from low resolution to incorrect color mode, will be faithfully reproduced on the film and then transferred to the garment. That means a blurry logo or a color shift can ruin an entire batch. Proper file prep ensures that what you see on your screen is what you get on the fabric.
Moreover, a DTF Gangsheet combines multiple designs onto a single sheet, so one mistake can affect several items at once. Imagine printing a sheet with 20 different logos, only to find that one design was saved in the wrong color profile, causing it to look off. That's a costly error. By taking the time to prepare your files correctly, you avoid these pitfalls and maximize your efficiency.
Step 1: Start with High-Resolution Images
The foundation of any good print is a high-quality source image. For DTF printing, you need at least 300 DPI (dots per inch) at the final print size. If your design is 10 inches wide, the image should be at least 3000 pixels wide. Vector files (like .ai, .eps, or .pdf) are ideal because they can be scaled infinitely without losing quality. If you're using raster images (like .jpg or .png), make sure they're large enough and not compressed to the point of artifacts.
One common mistake is upscaling a low-resolution image. While software can interpolate pixels, it can't create detail that isn't there. A 72 DPI image from a website will look pixelated when printed at 300 DPI, even if you resize it. Always start with the highest resolution available, or recreate the design as a vector if possible.
Step 2: Use the Correct Color Mode
DTF printers use CMYK color mode, not RGB. If you design in RGB (which is standard for screen display), the colors may shift when converted to CMYK. Bright neons and certain shades of green and orange are particularly prone to looking duller in print. To avoid surprises, set your design software to CMYK mode from the start, and use a color library like Pantone to ensure accuracy. If you must work in RGB, convert to CMYK before exporting and check the colors visually.
Also, be mindful of rich black versus standard black. For DTF, a rich black (a mix of CMYK) can look deeper, but too much ink can cause adhesion issues. A safe bet is to use a standard black (C:0 M:0 Y:0 K:100) for text and fine lines, and rich black for large areas if needed. Consult your printer's guidelines for specific recommendations.
Step 3: Set Up Your Gangsheet Layout
Now comes the fun part: arranging your designs on the gangsheet. The goal is to maximize the use of space while leaving enough room for cutting and handling. Most DTF film comes in standard widths (e.g., 13", 17", 22"), so your layout should fit within those dimensions. Use design software or a dedicated gangsheet builder to nest your images efficiently. Rotate designs if necessary to fill gaps, but avoid placing them too close to the edges, as the film needs a margin for the printer to grip and for the powder application process.
Consider the garment sizes you're targeting. If you're printing for toddler sizes, you can fit more designs per sheet; for adult sizes, you'll need more space. Also, group similar colors together to minimize color changes if your printer requires manual ink switching (though most modern DTF printers handle this automatically). A well-planned layout reduces waste and saves money.
Step 4: Add Cutting Marks and Weed Lines
DTF transfers need to be cut out after printing, either manually or with a cutter. To make this easier, include cut lines or weed lines around each design. These are thin lines (usually in a contrasting color like magenta or a separate layer) that indicate where to cut. If you're using a cutting machine, ensure the lines are on a separate layer and saved in a format the cutter recognizes (e.g., SVG or DXF). For manual cutting, a simple outline with a small margin (about 2-3mm) works well. Don't forget to include registration marks if your cutter requires them.
Step 5: Save and Export Correctly
The final step is exporting your file in a format your printer or RIP software can handle. PDF is often the safest choice because it preserves vector data and supports CMYK. TIFF is also common for raster images, but ensure it's saved without compression. Avoid JPEG for gangsheets because it's lossy and can introduce artifacts. When exporting, double-check that the resolution is set to 300 DPI, the color mode is CMYK, and all layers are flattened (unless your printer specifically asks for layers). Also, name your file clearly with the date and job number to keep things organized.
Common File Prep Mistakes to Avoid
- Using RGB images: Always convert to CMYK to prevent color shifts.
- Ignoring bleed: If your design has a background, extend it slightly beyond the cut line to avoid white edges.
- Forgetting to outline fonts: If you're sending files to a printer, convert text to outlines to avoid font substitution issues.
- Overlapping designs: Leave a small gap between designs to prevent ink smearing during powder application.
- Not checking for transparency: Some printers struggle with transparent backgrounds; flatten your image onto a white background if needed.
Frequently Asked Questions
What resolution should I use for DTF gangsheet files?
Always aim for 300 DPI at the final print size. This ensures crisp details and smooth gradients. For line art or text, vector files are even better because they remain sharp at any size.
Can I use PNG files with transparency for DTF printing?
PNG files with transparency can work, but it's safer to flatten them onto a white background. Some RIP software may interpret transparency incorrectly, leading to unwanted artifacts or missing areas.
How do I ensure accurate colors on my DTF transfers?
Work in CMYK color mode from the start, and use a color library like Pantone for critical colors. Also, consider printing a test sheet with color swatches to see how your printer reproduces specific shades.
What's the best way to arrange designs on a gangsheet?
Nest designs efficiently by rotating and grouping them, but leave a margin around each design for cutting and to prevent ink from bleeding between them. Use gangsheet builder software to automate the process and minimize waste.
Do I need to add cut lines to my gangsheet file?
Yes, cut lines or weed lines make it much easier to trim the transfers after printing. Include them on a separate layer if you're using a cutting machine, and always add a small margin around each design.